

Confluence Google Drive Integration
Create a single source of truth with seamless syncing and real-time collaboration.
Read more


Let's take the first steps with Confluence Attachments Workflow, from your first workflow to your first approved file.
ikuTeam Office for Confluence is installed on your site. If not, install it from the Atlassian Marketplace.
To create workflows, you need to be a Confluence admin. To add a workflow to a page, you need permission to edit that page.
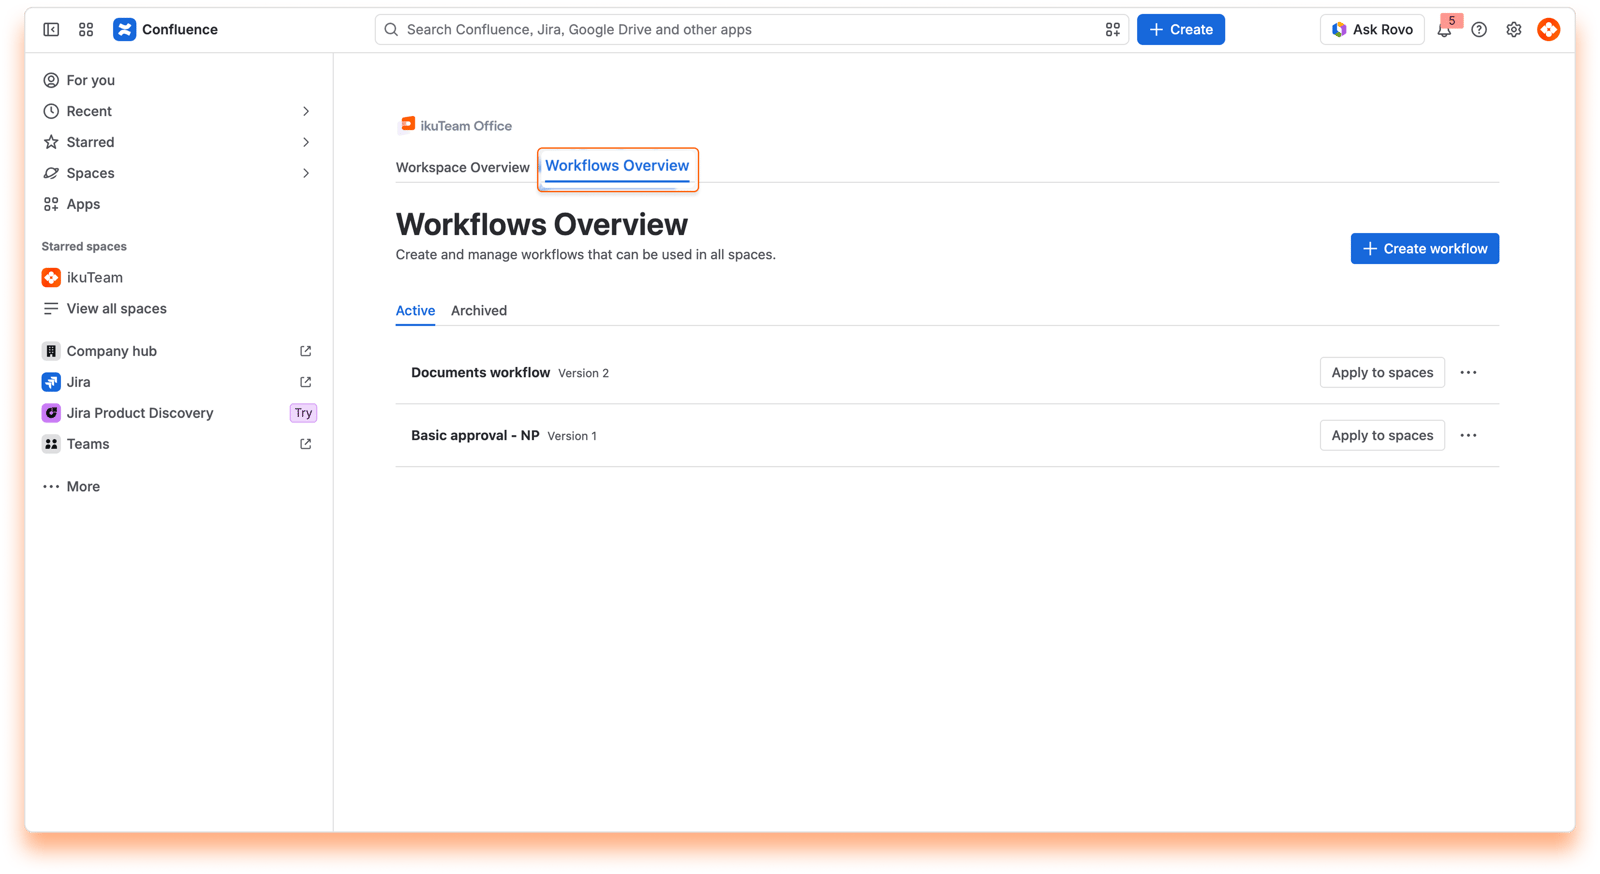
Create a workflow. As a Confluence admin, open ikuTeam Office from the Apps menu, go to Workflows Overview, and select Create workflow. The Basic Approval template is a great place to start. See Creating a workflow.
Add it to a page. On any page with attachments, select Attachments next to the page title, then Add a workflow. See Applying a workflow.
Assign reviewers. Choose the people who will review the files. See Managing a workflow on a page.
Send files to review. Select the status button next to each file (Draft), then select Review.
Review the files. Reviewers select Review documents, then approve or reject each file. See Reviewing attachments.
Follow the progress. The page status updates on its own as decisions come in. See Tracking approval status.
To help you get going fast, Confluence Attachments Workflow includes a Basic Approval template with four file states:
State | What it means |
|---|---|
Draft | The file isn't in review yet. |
Review | Reviewers are making their decision. |
Approved | The file is approved. |
Rejected | The file needs changes. Move it back to Draft to update it and send it to review again. |
You can rename, reorder, add or remove states to match how your team works.
That's all it takes to start reviewing attachments in Confluence. The next pages walk through each step in more detail.
If you have questions, contact our support team. Our team is always happy to help.


